Many men treat a hair system as something to consider only after the scalp is “fully bald.” That framing delays a workable non-surgical option and often makes the first cut-in harder than it needs to be. This guide walks stage by stage through how coverage area, blend edges, and base choices change as male pattern thinning advances — using the Norwood–Hamilton scale as a common public reference, not as a personal diagnosis or medical advice. Specs mentioned are Public specs (as published; verify on brand site).
This is not an alopecia encyclopedia. It does not diagnose pattern baldness, prescribe drugs, or predict how fast anyone’s hair will progress. For product shortlists after stage and base gates are clear, see the men’s hair system shortlist. For the surgical vs system fork, use hair system vs hair transplant. Decision order for first orders: how to choose a hair system.
What the Norwood scale is useful for (and what it is not)
The Norwood–Hamilton scale is a widely used visual framing for male pattern hair loss stages — from minimal recession through advanced horseshoe patterns. Dermatologists and restoration clinics often reference it; consumer education sites do too. For hair-system planning it helps answer two practical questions:
- How much top coverage is likely needed (front only vs full top panel).
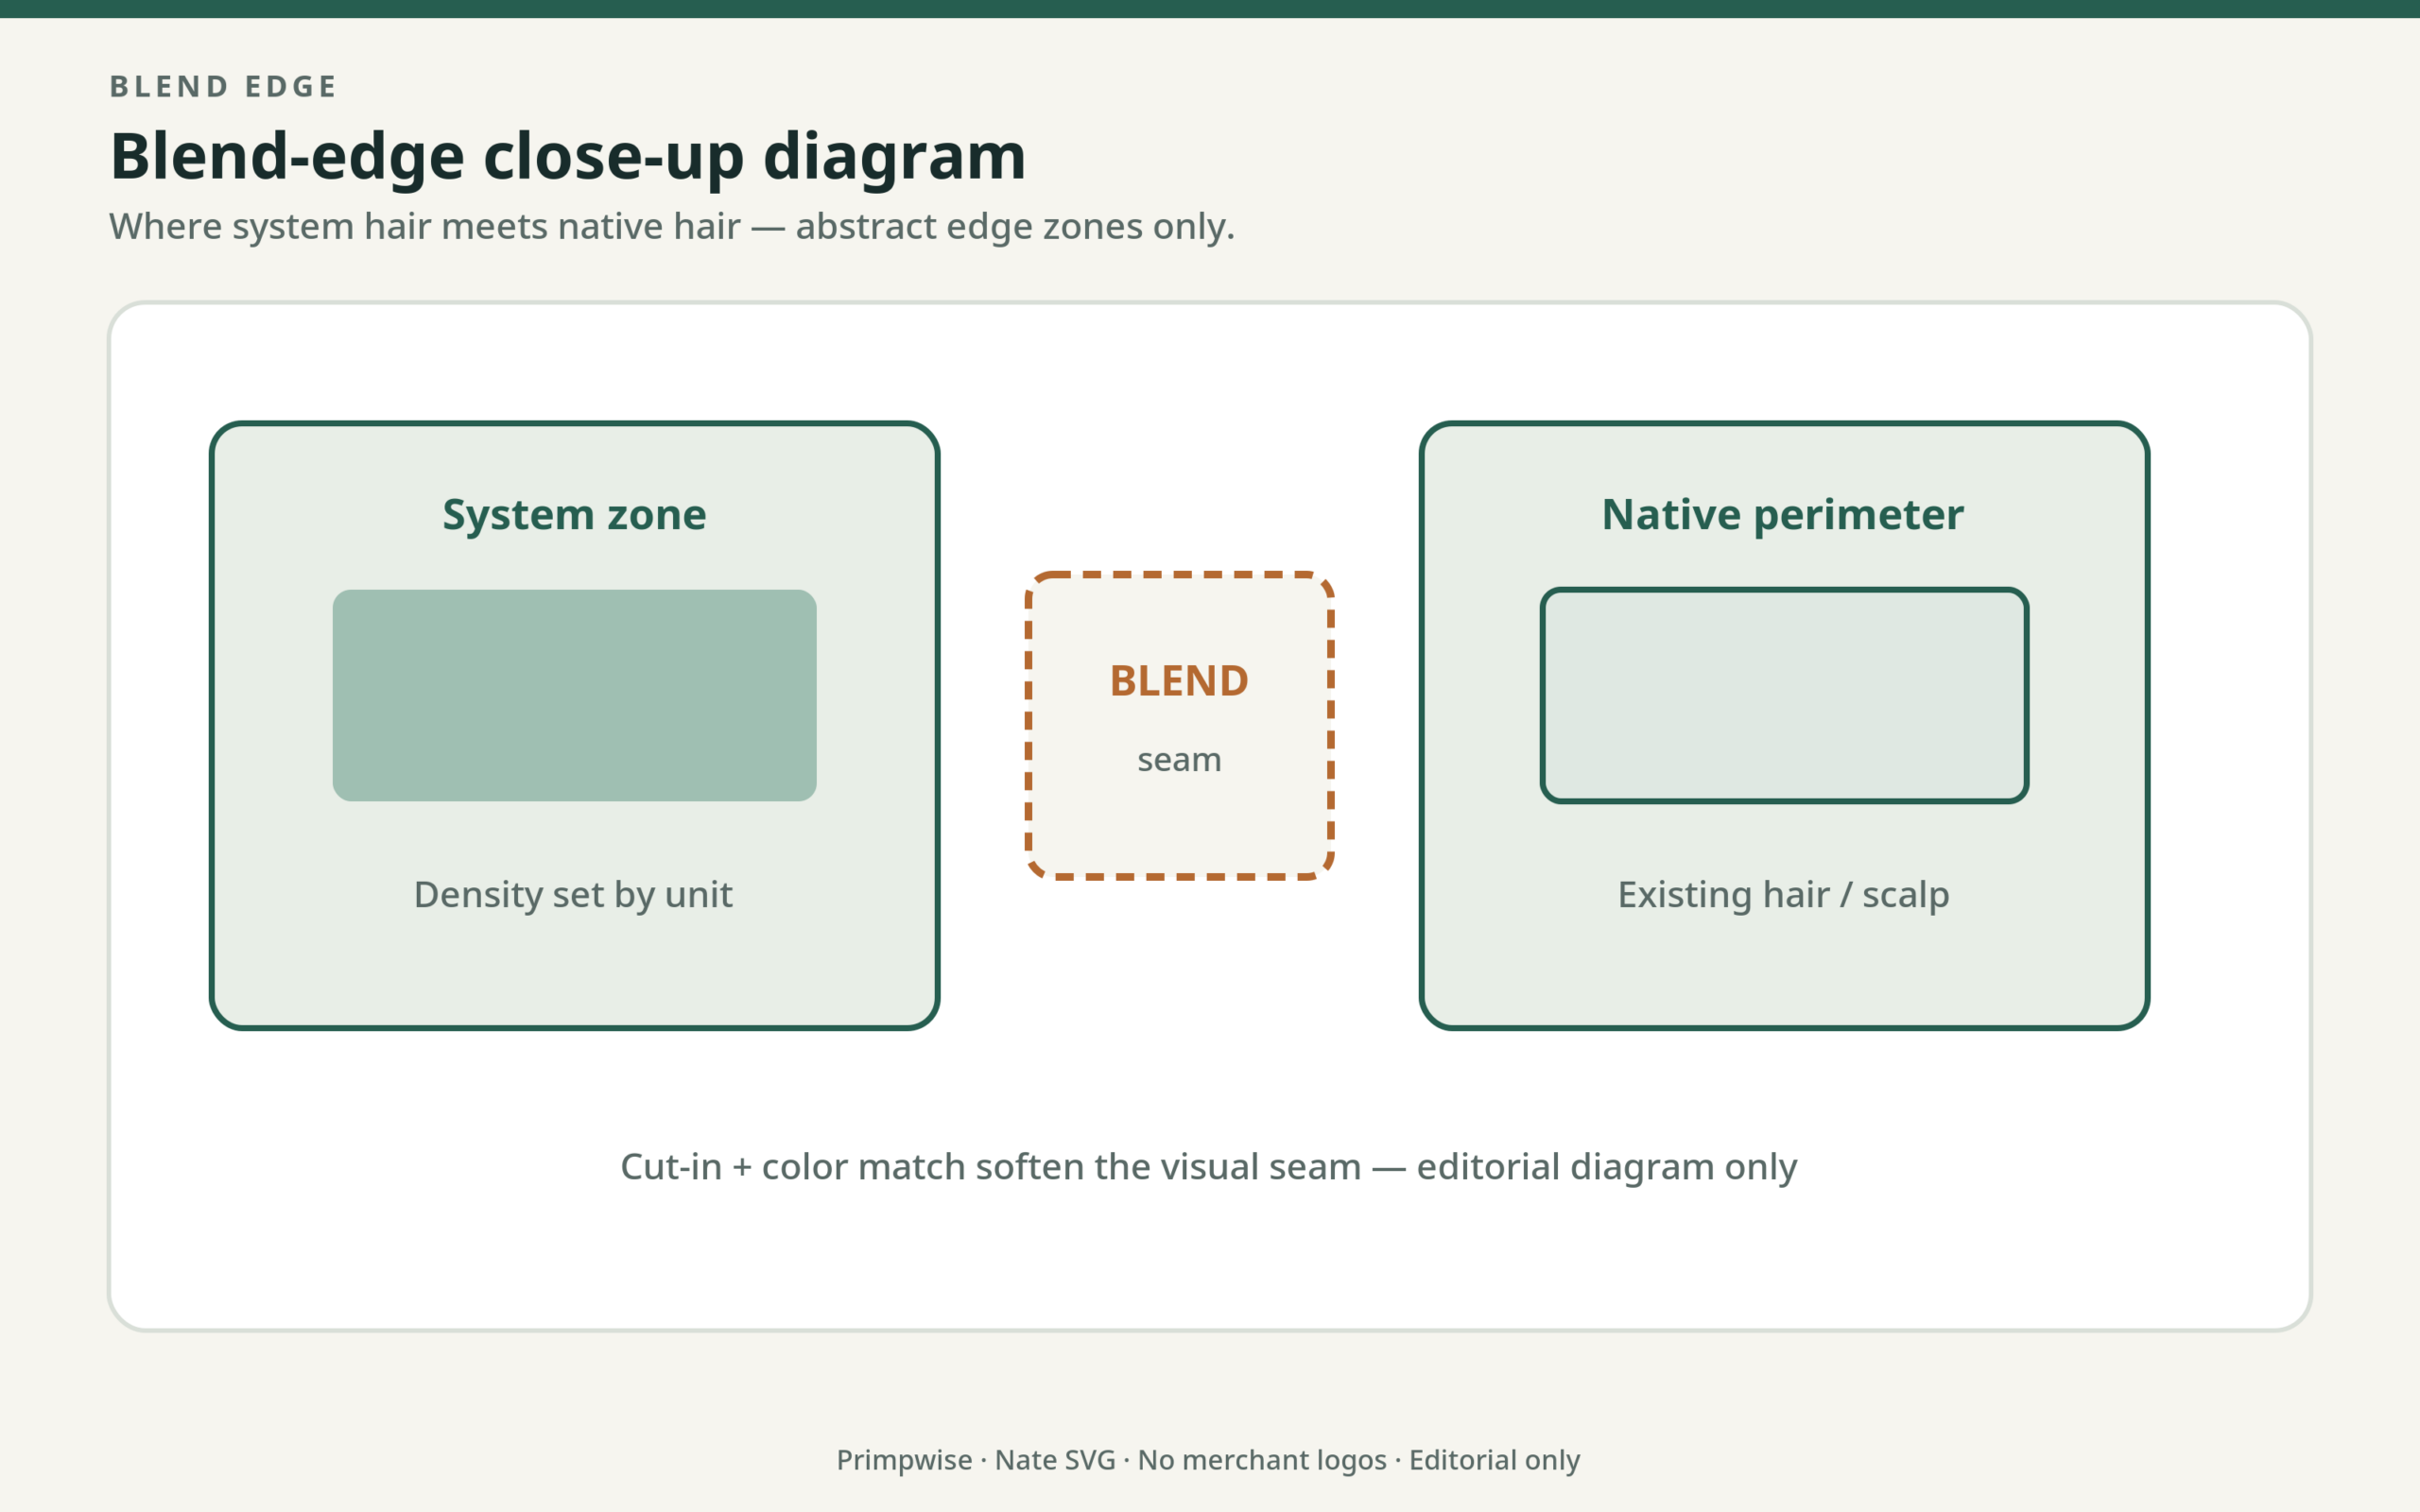
- Where the blend with remaining bio hair will sit (temples, sides, or thin fringe).
It does not replace a clinician’s exam, label a disease, or tell someone they “must” wear a system. Treat stage numbers as a shared vocabulary for shopping and cut-in conversations — then measure the actual scalp for size.
Early recession (commonly framed as Norwood 1–2)
At early temple recession, most men do not wear systems — and many never will. When someone does choose coverage this early, the practical pattern is usually a small partial at the hairline rather than a full 8″ × 10″ stock panel.
What tends to work:
- Limited frontal coverage that blends into dense side and top bio hair.
- Density matched to (or slightly under) temple density so the front does not read “helmet.”
- Patience with cut-in — early-stage systems fail visually when the front is left factory-straight.
When to pause: if the goal is medical treatment of progressive loss, that conversation belongs with a clinician — not a product page. A system can coexist with other approaches for some men; that coexistence is personal, not something this article can prescribe.
Classic partial coverage (commonly framed as Norwood 3–4)
This is where many first-time wearers actually start. Temple recession is obvious; crown involvement may be beginning. Substantial bio hair remains at the sides and back — the easiest blend geometry most stock systems see.
Practical system framing:
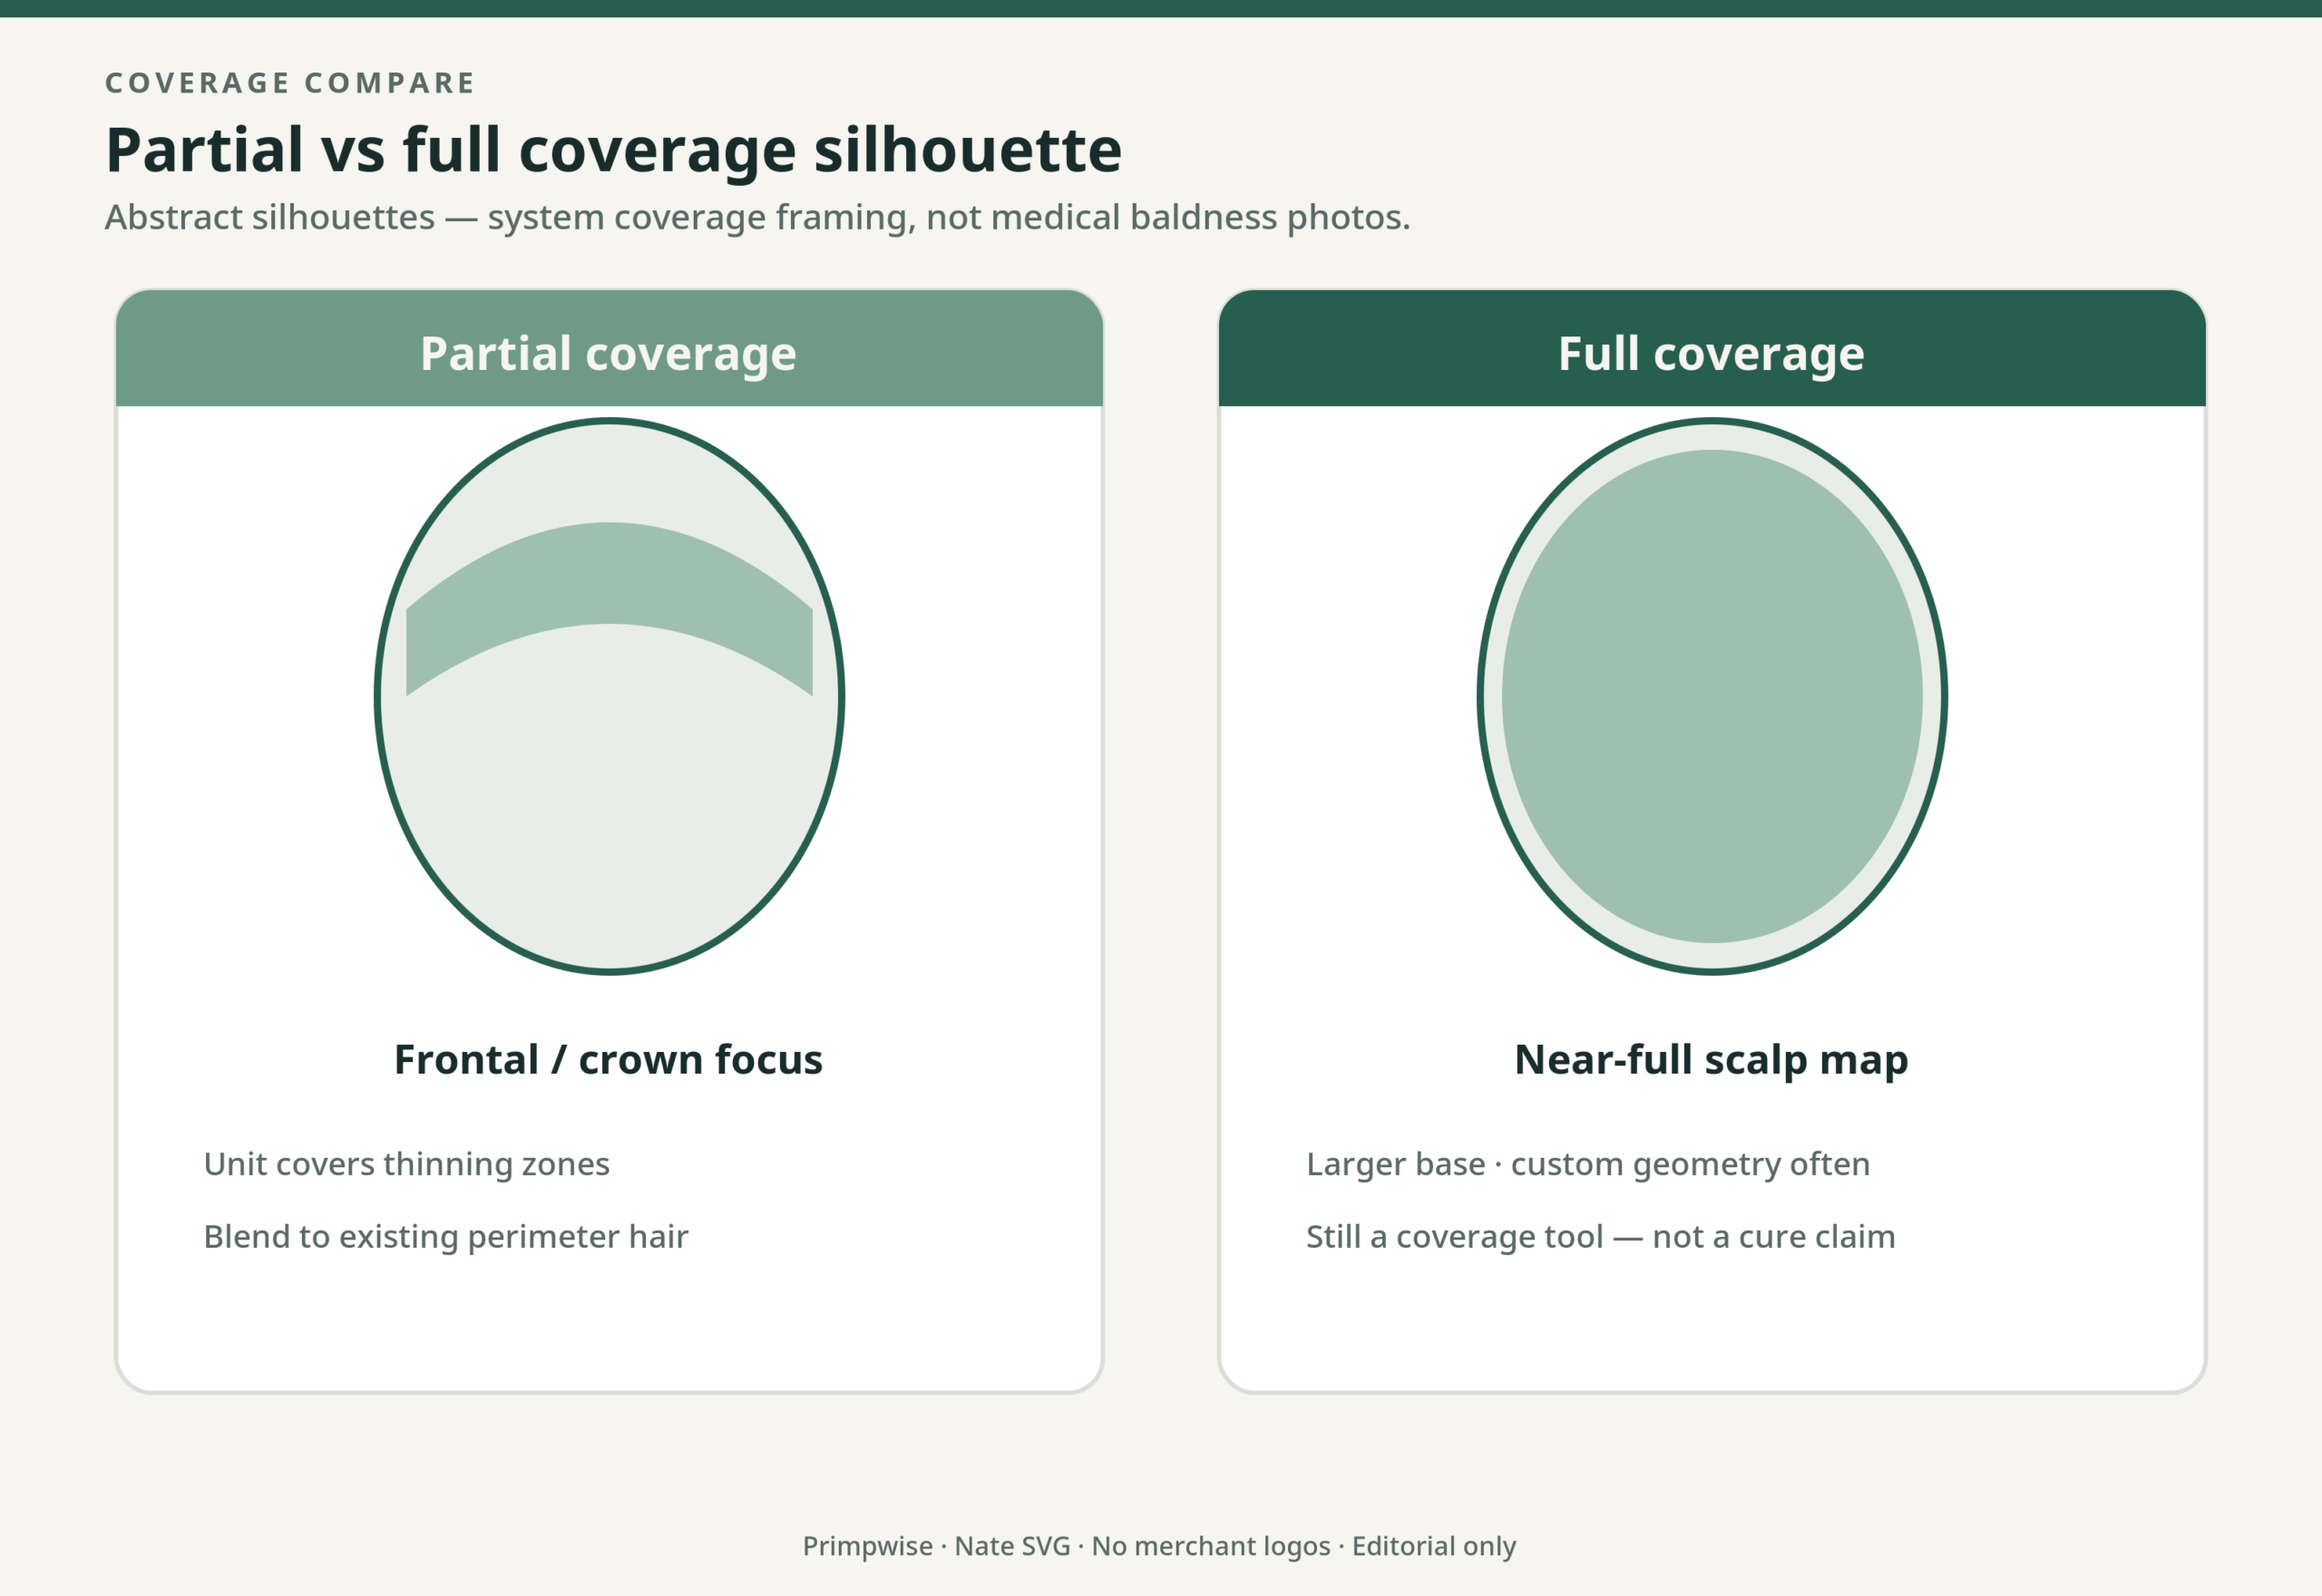
- Standard stock base sizes (often published around an 8″ × 10″ panel before contour trim) commonly cover front-to-crown loss at this stage; excess edge is trimmed at cut-in.
- Density in the light–medium band matched to side hair usually blends better than “max density” marketing.
- Lace fronts and thin-skin fronts both appear in public catalogs for this coverage band — choose by lifestyle (heat/sweat vs cleanup simplicity). Material fork: lace vs thin skin.
Community “looks fake” themes at this stage almost always trace to density too high vs sides or uncut stock fronts, not to “wrong Norwood number.”
If lace / breathability / soft front for partial coverage: Lordhair lace · Superhairpieces lace · LaVivid lace
If thin skin / simpler edge for first partial: Lordhair SuperSkin-V · Superhairpieces thin skin · LaVivid thin skin

Extensive top coverage (commonly framed as Norwood 5–6)
The bridge between front and crown has thinned or gone. Side and back hair may still be strong enough to hide the base perimeter when cut carefully.
What changes vs earlier stages:
- Full top-panel coverage becomes the default; partials leave islands that look worse than a continuous unit.
- Base contour matters more — oversized side flaps create shelves; undersized panels leave bare crescents.
- Color matching at the side blend (not only the front) decides whether photos look natural.
Density education from merchant public pages remains useful here — Superhairpieces publishes a stylist-oriented density guide beginners and mid-stage wearers both use before ordering (SHP density guide).
Advanced fringe pattern (commonly framed as Norwood 7)
Only a horseshoe fringe of bio hair may remain. Transplant math at this pattern is often donor-limited — that surgical constraint is one reason systems appear in comparisons as a coverage path rather than a graft path. See hair system vs hair transplant for the decision matrix; this page stays on system logistics.
Practical system framing:
- Full top coverage with careful side blending into the fringe.
- Stock panels still work for many heads; unusual crown width or fringe asymmetry may push toward custom sizing.
- Maintenance rhythm does not magically change because the stage number is higher — adhesive hygiene still decides comfort.
If coverage geometry is non-standard: LaVivid custom · confirm measurements before ordering stock that will need aggressive side trim.
What does not change across stages
Across public stage labels, the same four gates dominate first success:
- Base family matched to sweat, heat, and DIY skill (how to choose).
- Density matched to bio sides/back — not to catalog hero photos.
- Color checked in daylight against temples and sides.
- Cut-in and bond — factory length is not a finished haircut (first-wear checklist).
Stage number changes where the base sits and how much area it covers. It does not invent a different product category.
Timing: earlier learning curve vs later coverage need
Men who start while side hair is still dense often find blending more forgiving. Men who wait until a full horseshoe still achieve natural results when density, color, and cut-in are honest — they simply have less bio hair to hide mistakes. Neither path is morally “better.” The practical question is whether someone prefers to learn adhesive routines while the visual stakes are lower, or to wait until coverage need is unambiguous.
System vs transplant at mid and late stages (pointer only)
At mid stages, both surgical and non-surgical paths can be on the table for some men. At advanced donor-limited patterns, systems are frequently discussed as the coverage option that does not consume grafts. This article does not rank medical procedures. For structured comparison of timeline, permanence, maintenance, and cost framing, use the dedicated spoke: hair system vs hair transplant. Cost and replacement rhythm: hair system cost breakdown.
FAQ
Is a hair system only for fully bald men?
No. Public catalogs and wearer communities include partial frontal and front-to-crown coverage long before a horseshoe pattern. Fully bald top panels are one use case, not the only one.
Does Norwood stage dictate exact base size?
No. Stage is a framing aid. Measure the actual coverage area, then contour stock or order custom. Size language on merchant pages is a starting point, not a prescription.
Should remaining top hair be shaved under the unit?
Many wearers clip or shave the coverage zone for cleaner adhesion and a flatter silhouette. That is a practical install choice, not a medical requirement. Follow adhesive-label prep guidance.
Can someone switch stage strategies later?
Yes. Coverage area often expands over years. Planning for a second, larger stock unit — or a custom — is normal inventory thinking, not failure of the first order.
Closing
Use Norwood labels as a shared map for coverage and blend, not as a diagnosis. Lock base, density, color, and cut-in the same way at every stage — then shop conditional shortlists on the men’s hub once those gates are clear.
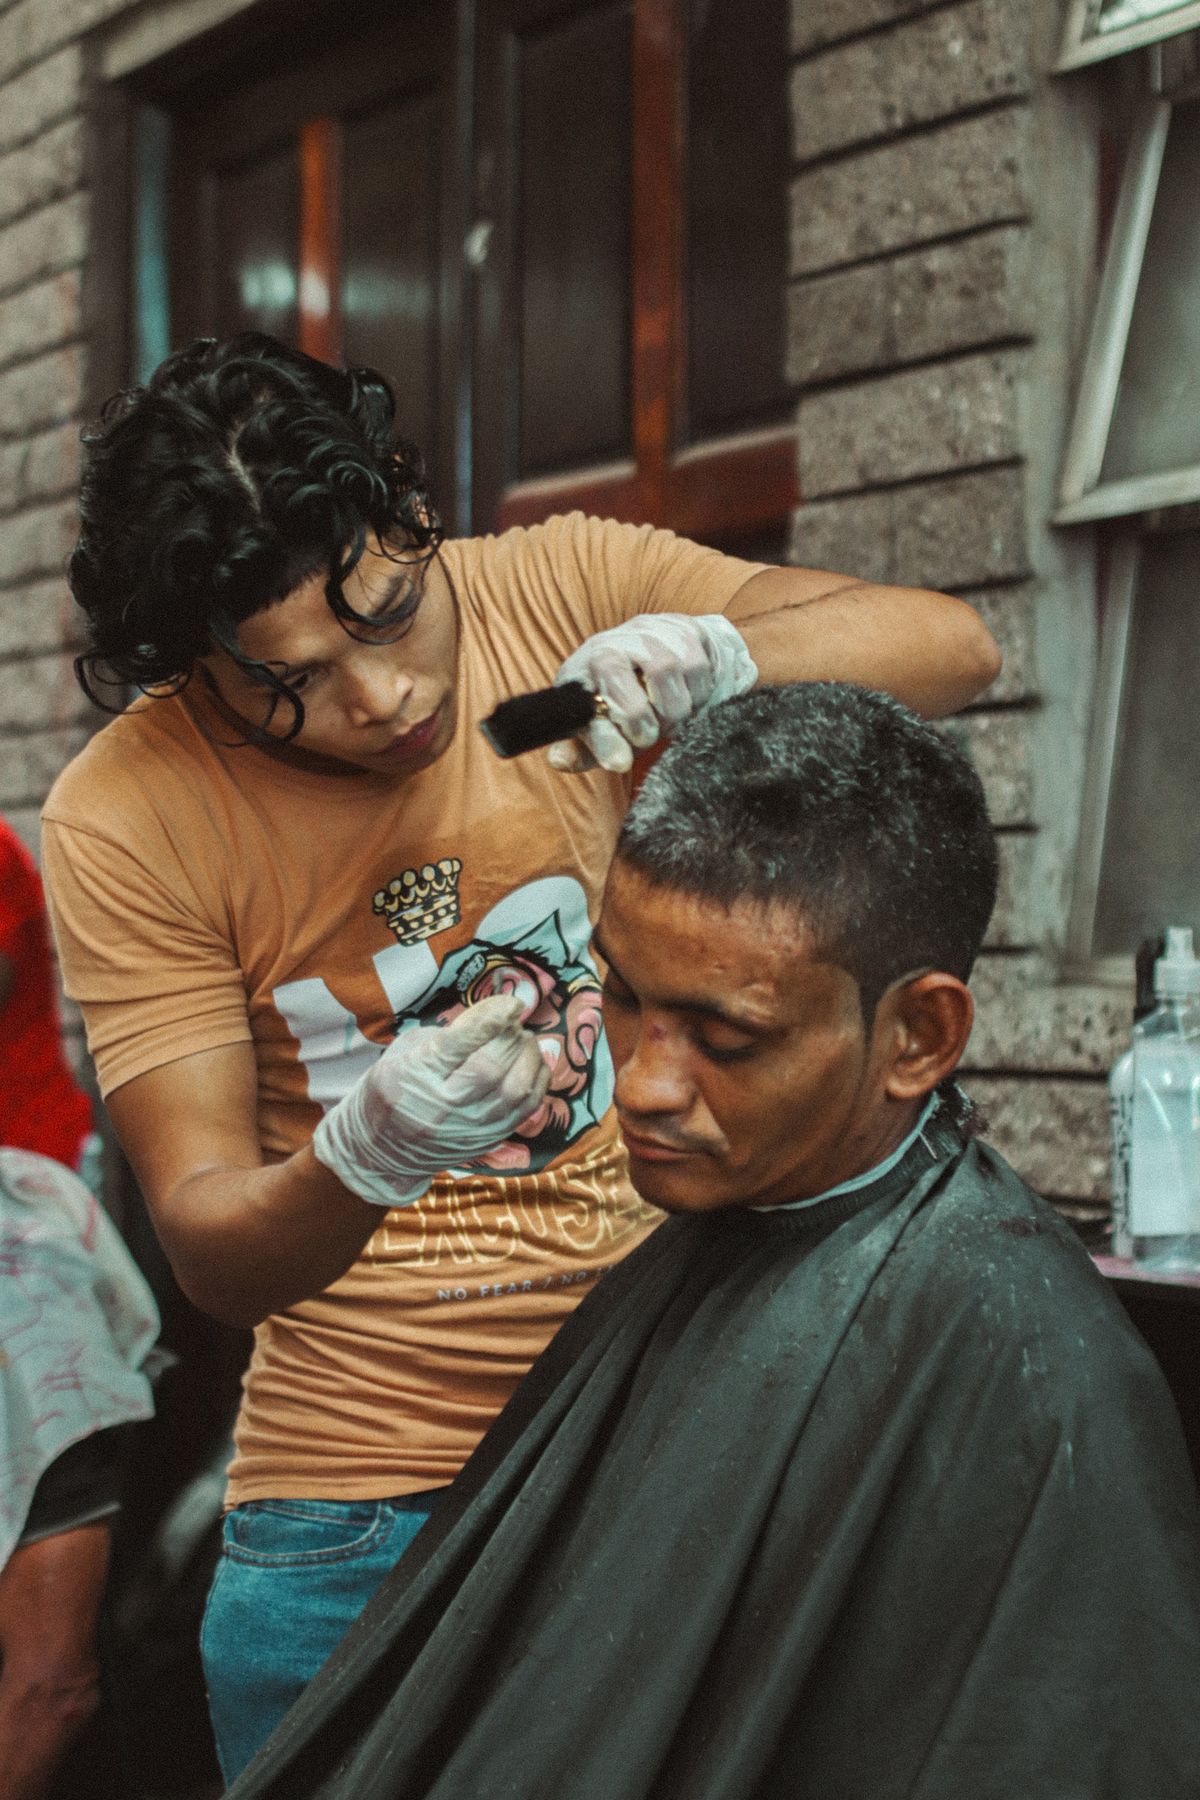
Image credits: Barber photo: Stock photo: Angela Chacón / Pexels; Cover photo: Stock photo: cottonbro studio / Pexels.
Diagrams: self-drawn by Polishwise.
Product images from Lordhair product pages, linked to the source pages.
Product images are merchant images, not photos taken by this site.